Here’s the complete article with all requested elements:
Getting Started with Organic Microgreens
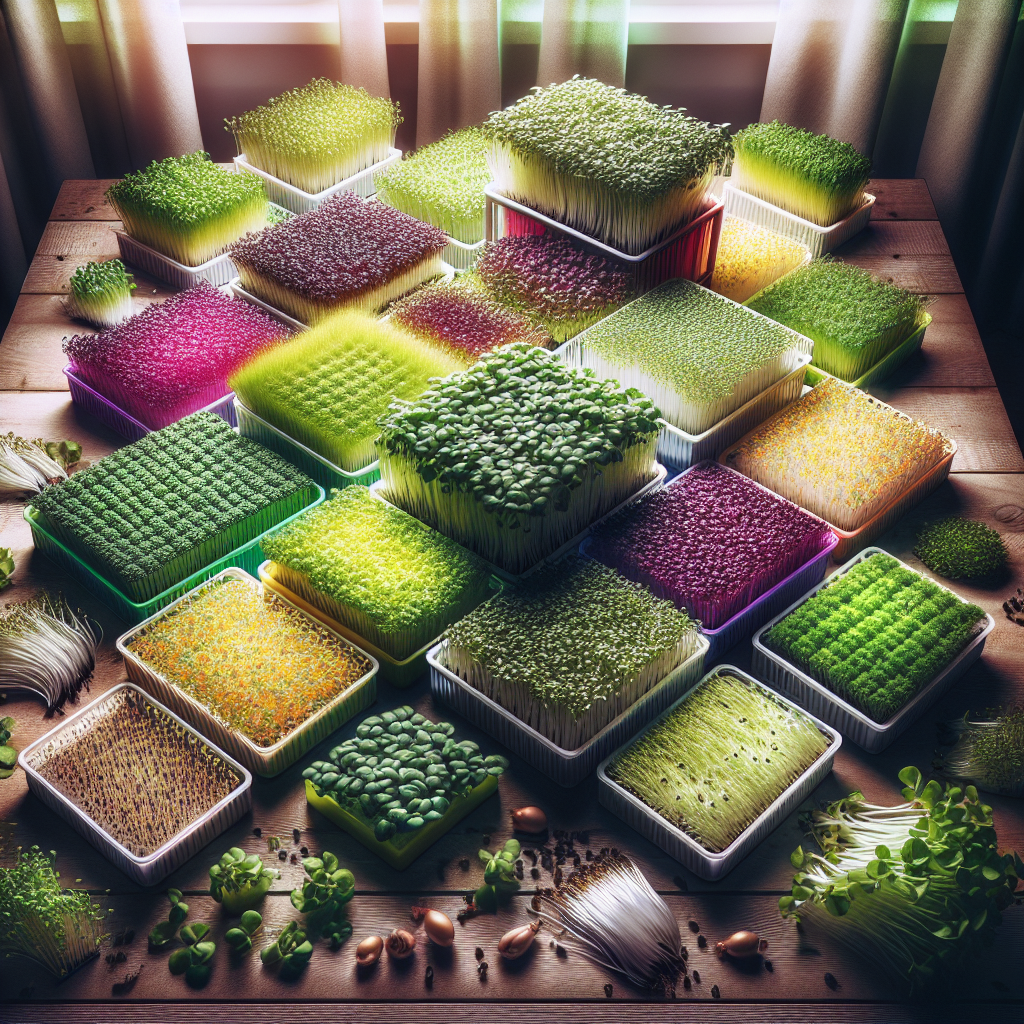
Microgreens are young vegetable greens harvested just after the first true leaves have developed. Packed with concentrated nutrients, these tiny powerhouses can contain up to 40 times more vitamins and minerals than their mature counterparts. Growing them at home ensures you get the freshest, most nutritious greens possible while controlling every aspect of the growing process.
Why Grow Your Own Microgreens?
Growing microgreens offers numerous benefits:
- Nutritional density: Higher concentration of vitamins C, E, and K than mature plants
- Space efficiency: Can be grown in small apartments with minimal equipment
- Quick harvest: Ready to eat in 1-3 weeks depending on variety
- Cost effective: Save money compared to store-bought microgreens
- Year-round production: Indoor growing isn’t limited by seasons
Essential Supplies for Growing Microgreens
Before planting, gather these basic supplies:
Containers
You can use:
- Shallow trays (10″x20″ standard nursery flats work well)
- Recycled food containers (yogurt cups, takeout containers with drainage holes)
- Specialty microgreen growing trays
Growing Medium
Choose organic options:
- Organic potting soil
- Coconut coir
- Hemp mats
- Organic seed starting mix
Seeds
Buy organic, untreated seeds specifically labeled for microgreens:
- Broccoli
- Radish
- Sunflower
- Pea shoots
- Kale
- Arugula
Other Supplies
- Spray bottle for misting
- Grow lights (optional but recommended for consistent growth)
- Small fan (for air circulation)
- Sharp scissors for harvesting
Step-by-Step Growing Process
1. Prepare Your Growing Tray
Fill your container with 1-2 inches of moistened growing medium. Level the surface but don’t compact it too firmly. The medium should be damp but not soaking wet.
2. Sow the Seeds
Scatter seeds densely across the surface – about 10-12 seeds per square inch for small seeds like broccoli, slightly less for larger seeds like sunflower. Gently press seeds into the soil without burying them.
3. Cover and Weight (Optional)
Place another empty tray or board on top to create darkness and slight pressure. This encourages strong root development. Remove after 2-3 days when sprouts appear.
4. Provide Proper Lighting
Once uncovered, place under grow lights or in a sunny windowsill. Microgreens need 12-16 hours of light daily. Keep lights 4-6 inches above plants, adjusting as they grow.
5. Water Carefully
Use a spray bottle for the first few days, then water from below by pouring water into the tray and letting the soil absorb it. This prevents mold and keeps leaves dry.
6. Ensure Good Air Circulation
Use a small fan to prevent mold and strengthen stems. Run it for a few hours daily, not directly on the plants.
7. Harvest at the Right Time
Most microgreens are ready 7-21 days after sowing, when they’ve developed their first true leaves. Use clean scissors to cut just above the soil line.
Maximizing Nutrition in Your Microgreens
Choosing Nutrient-Dense Varieties
Some of the most nutritious microgreens include:
- Red cabbage: High in vitamin C and anthocyanins
- Broccoli: Contains sulforaphane, a potent antioxidant
- Radish: Rich in vitamin E and minerals
- Sunflower: Excellent source of protein and healthy fats
Optimal Harvest Timing
Nutrient levels peak just as the first true leaves develop. Harvest in the morning when plants are most hydrated and nutrient-dense.
Post-Harvest Handling
To preserve nutrients:
- Rinse gently if needed and pat dry immediately
- Store in airtight containers in the refrigerator
- Use within 3-5 days for maximum freshness
Troubleshooting Common Problems
Preventing Mold
Mold is the most common issue for home growers. Prevent it by:
- Using clean containers and fresh growing medium
- Ensuring good air circulation
- Avoiding overwatering
- Sowing at proper density
Dealing with Leggy Growth
If stems are too long and weak:
- Increase light intensity or move lights closer
- Reduce temperature (ideal is 60-70°F)
- Ensure adequate air circulation
Slow Germination
If seeds aren’t sprouting well:
- Check seed freshness – use within 1-2 years
- Ensure proper moisture levels
- Some varieties need pre-soaking (like peas and sunflower)
Creative Ways to Use Your Microgreens
Incorporate these nutritional powerhouses into your diet:
- Top salads, soups, and sandwiches
- Blend into smoothies
- Use as garnish for elevated presentation
- Add to omelets or scrambled eggs
- Mix into grain bowls or pasta dishes
With minimal space and equipment, you can enjoy a continuous supply of fresh, organic microgreens that pack a nutritional punch far beyond their size. By following these simple steps, you’ll have a sustainable source of vitamins and antioxidants right at your fingertips.